
How to take a flattering and professional ID Photo, every time.
Whether it’s for a driver’s license, work badge, student card, or digital pass, knowing how to take an ID photo that looks professional (and flattering) is a skill worth learning. With the rise of remote applications and mobile submissions, understanding how to take an ID photo on your phone is more important than ever.
Here’s your complete, straightforward guide on how to take a good ID photo. From lighting and clothing to posing and smiling tips, we’ve got you covered!
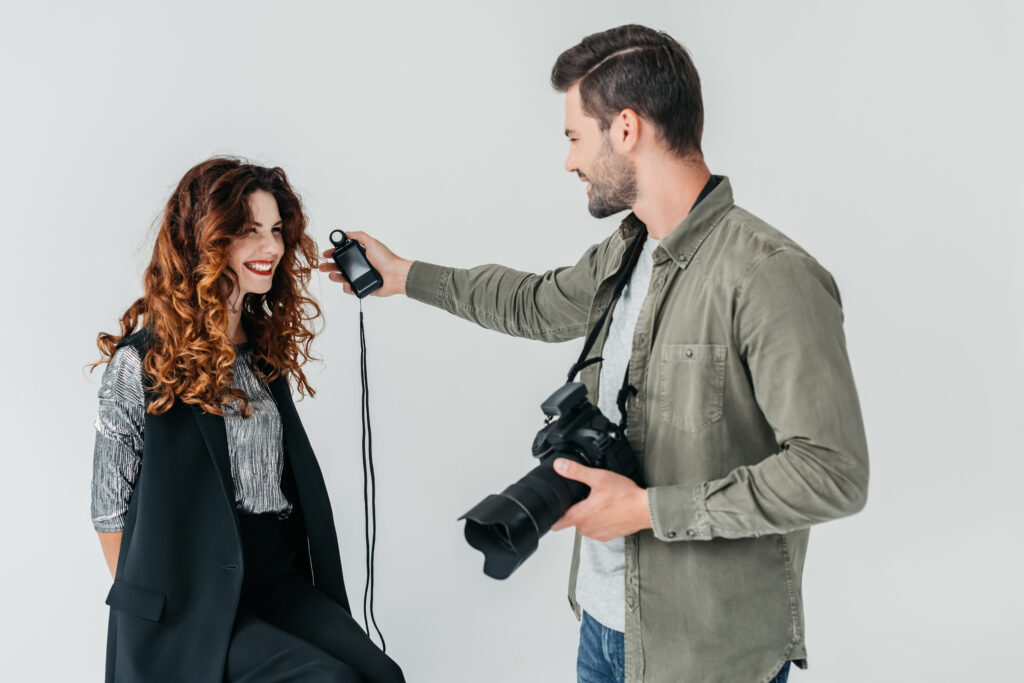
1. Choose the Right Background and Lighting
One of the biggest mistakes people make when figuring out how to take good ID photo at home is ignoring the background. Use a plain white or light grey wall. Make sure you’re in a well-lit room with natural light or soft artificial lighting directly facing your face. Harsh shadows or poor lighting can ruin even the best expression.
2. What to Wear for an ID Photo
What to wear for your ID photo makes a big difference in how polished and professional you look. Stick to solid colours, preferably darker tones like navy, black, or burgundy. Avoid white tops as they can blend into the background.
If you’re wondering what to wear for work ID photo, go for something close to your workplace dress code. A simple shirt or blouse with a collar works well. For students asking what to wear for student ID picture, a clean, casual outfit that reflects your style while still looking neat is perfect.
3. Position and Framing
Knowing how to take a ID photo means getting your face centered and framed correctly. The camera should be at eye level. Keep your head straight and shoulders square. Make sure your full face is visible, and don’t tilt or turn your head.
If you’re wondering how to take a ID photo on your phone, use your front camera in portrait mode, or better yet, have someone else take it. Always take a few photos to choose the best one!
4. Facial Expression and Smiling
Wondering how to smile for ID picture or how to look good in ID photo? The trick is to relax. You can smile gently with a closed mouth unless instructed otherwise by the ID authority. Avoid frowning, raising your eyebrows, or using exaggerated expressions.
For a natural and confident look, think of something pleasant—it’ll reflect in your eyes and make the image look more authentic.
5. Final Touches and Common Mistakes
If you’re unsure how to take ID pictures that won’t get rejected, double-check the guidelines for size, file type, and clarity. No filters, no red-eye, and no head coverings unless worn for religious or medical reasons.
Learning how to get a good ID photo is about consistency. Make sure your photo shows your true appearance. Neatly groomed, well-lit, and professionally presented.
In Summary: How to Take the Best ID Photo
Let’s wrap up with key tips for how to take the best ID photo:
Use even, front-facing light
Choose a clean, solid-color top
Keep your expression calm and pleasant
Stand against a plain, light background
Use your phone’s camera at eye level
Take multiple shots to pick the best
Whether you’re preparing for work, school, or any official documentation, mastering how to take an ID picture doesn’t need to be hard. With these tips, you’ll always know how to take a good ID photo that gets approved, and one you’re actually happy to show!